
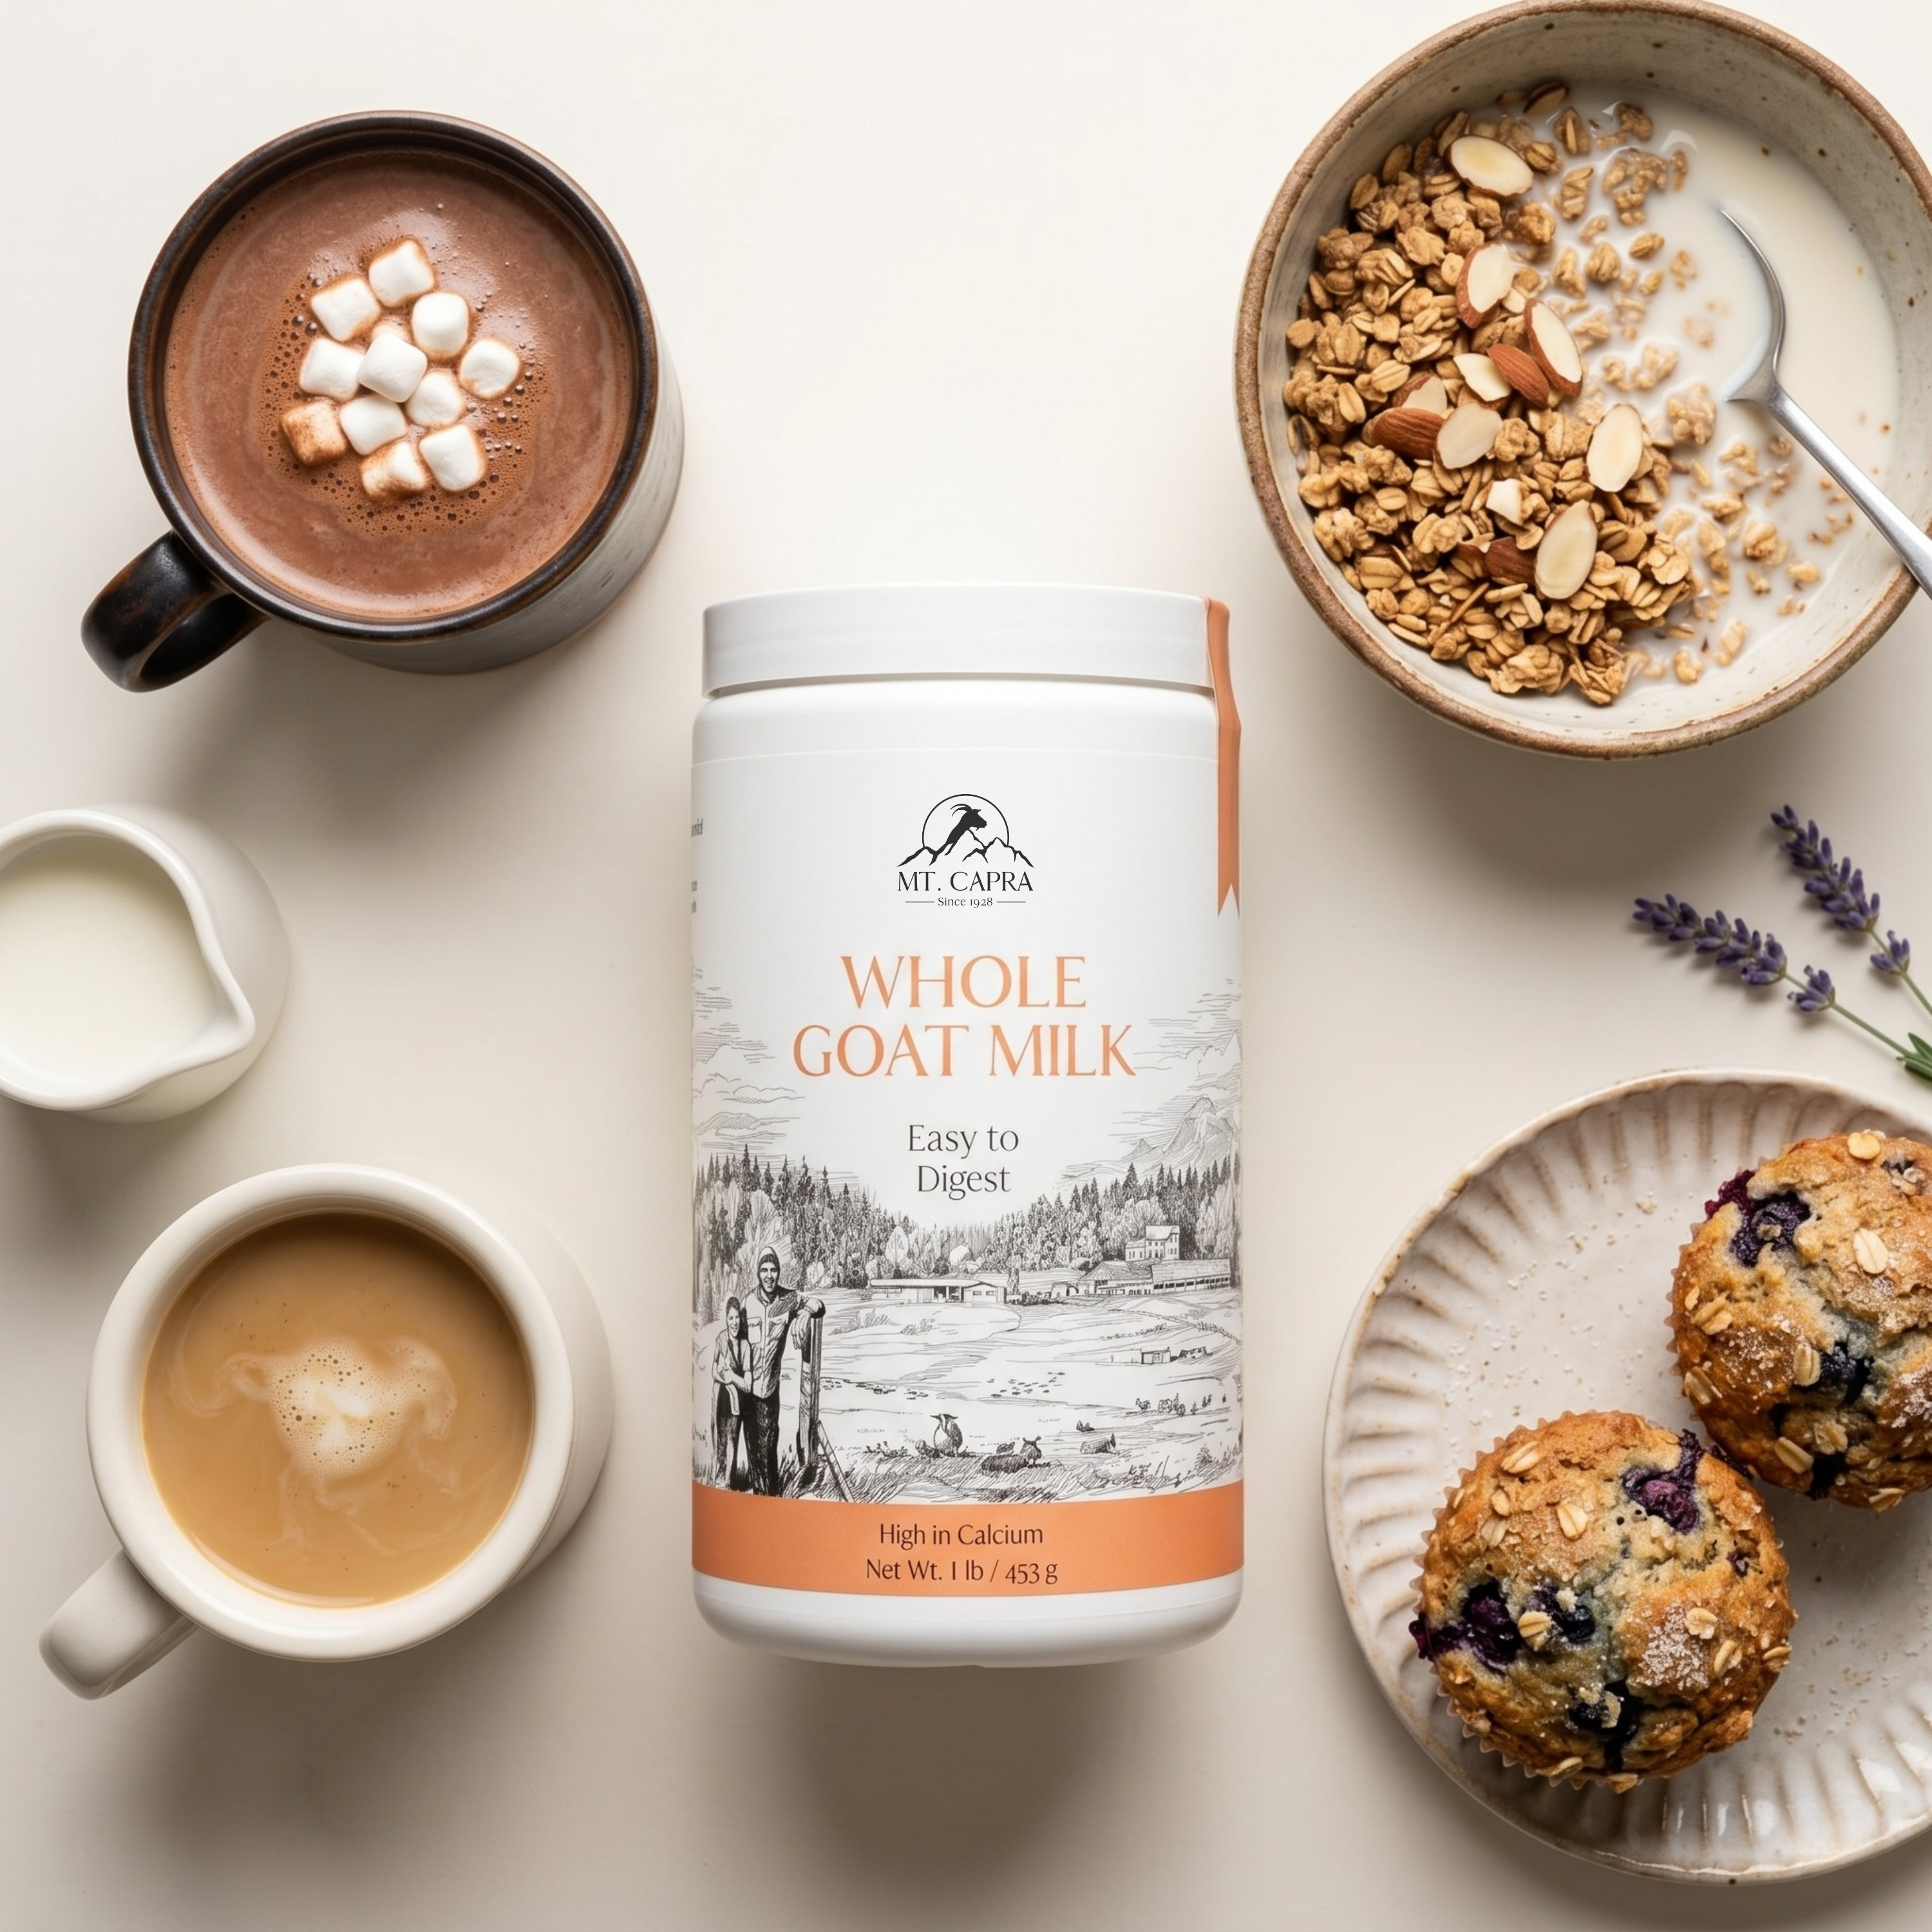
This almond joy tart is a quick and easy no-bake, gluten-free tart sure to wow your friends and family! The creaminess of the coconut combines with the thickness of the chocolate and almond to create a smooth, satisfying texture that compliments the rich Almond Joy flavor perfectly. The best part? Each mouth-watering bite contains a wealth of minerals and collagen from our newest product, Clean Minerals with Collagen Peptides – Hot Cocoa flavor! Not only is it gluten free, but it also contains no cow dairy and only a slight amount of goat milk lactose from the Clean Minerals, making it perfect for those with sensitivities or difficulty digesting dairy.
Get Started with the Crust:
Start with the crust. I love how easy and tasty it is! It doesn’t need any flour or butter to get its soft texture with a nice bite from the almonds and coconut. Pulse the almonds in a food processor for 5 minutes or until they reach your desired consistency. If your almond chunks are the size of peas, your crust is going to be very chunky and may fall apart easily. I prefer a smoother crust, so I went for tinier chunks. I blended for about five minutes, stopping to re-incorporate any bigger chunks that rose to the top. After the almonds are nicely pulsed, add the coconut flakes and pulse until well-incorporated, which took my food processor about 2-3 minutes.
Once the almonds and coconut look well-mixed and the correct consistency, add the chocolate as well as the remaining ingredients and blend until the crust begins to stick together and form into large chunks or one big ball. If your tart pan is not nonstick, you may want to use coconut oil sparingly to grease it. My nonstick tart pan worked great, and between that and the coconut oil in the crust, I didn’t have any issues at all with sticking. Spread your crust “dough” evenly inside the pan, making sure to get it all the way to the top of the edges – this will keep the filling contained when you pour it in.
Leave the crust in the fridge for at least 30 minutes to let it set completely. I ended up doing other things and left it for about 3 hours, but it was definitely set before then.

The Filling:
Now for the filling. In a blender, combine the coconut cream, coconut oil, 1/2 cup almond butter, vanilla extract, Clean Minerals with Collagen Peptides, and cocoa powder. Blend until smooth. The almond butter is essential here, as it will help the coconut oil to incorporate. Because coconut oil is not liquid at room temperature, it could help to melt it first before adding. That being said, I used it at room temp, and it ended up working just fine.
Once everything is combined and smooth, remove your crust from the fridge.

I spread a thin layer of almond butter on the bottom of the crust before adding the filling. This is optional, but it was delicious! Other great options could be coconut flakes, chocolate, raspberry or other berry spreads, or peanut butter if you want another nut option. Adding coconut flakes is next on the docket for me. I think that would make the texture more reminiscent of Almond Joy. If you try other options, let us know in the comments how they turn out!

Pour the filling into the crust and put it back in the fridge to set. I left it overnight, but it should be good to go within 3-4 hours.

Enjoy!
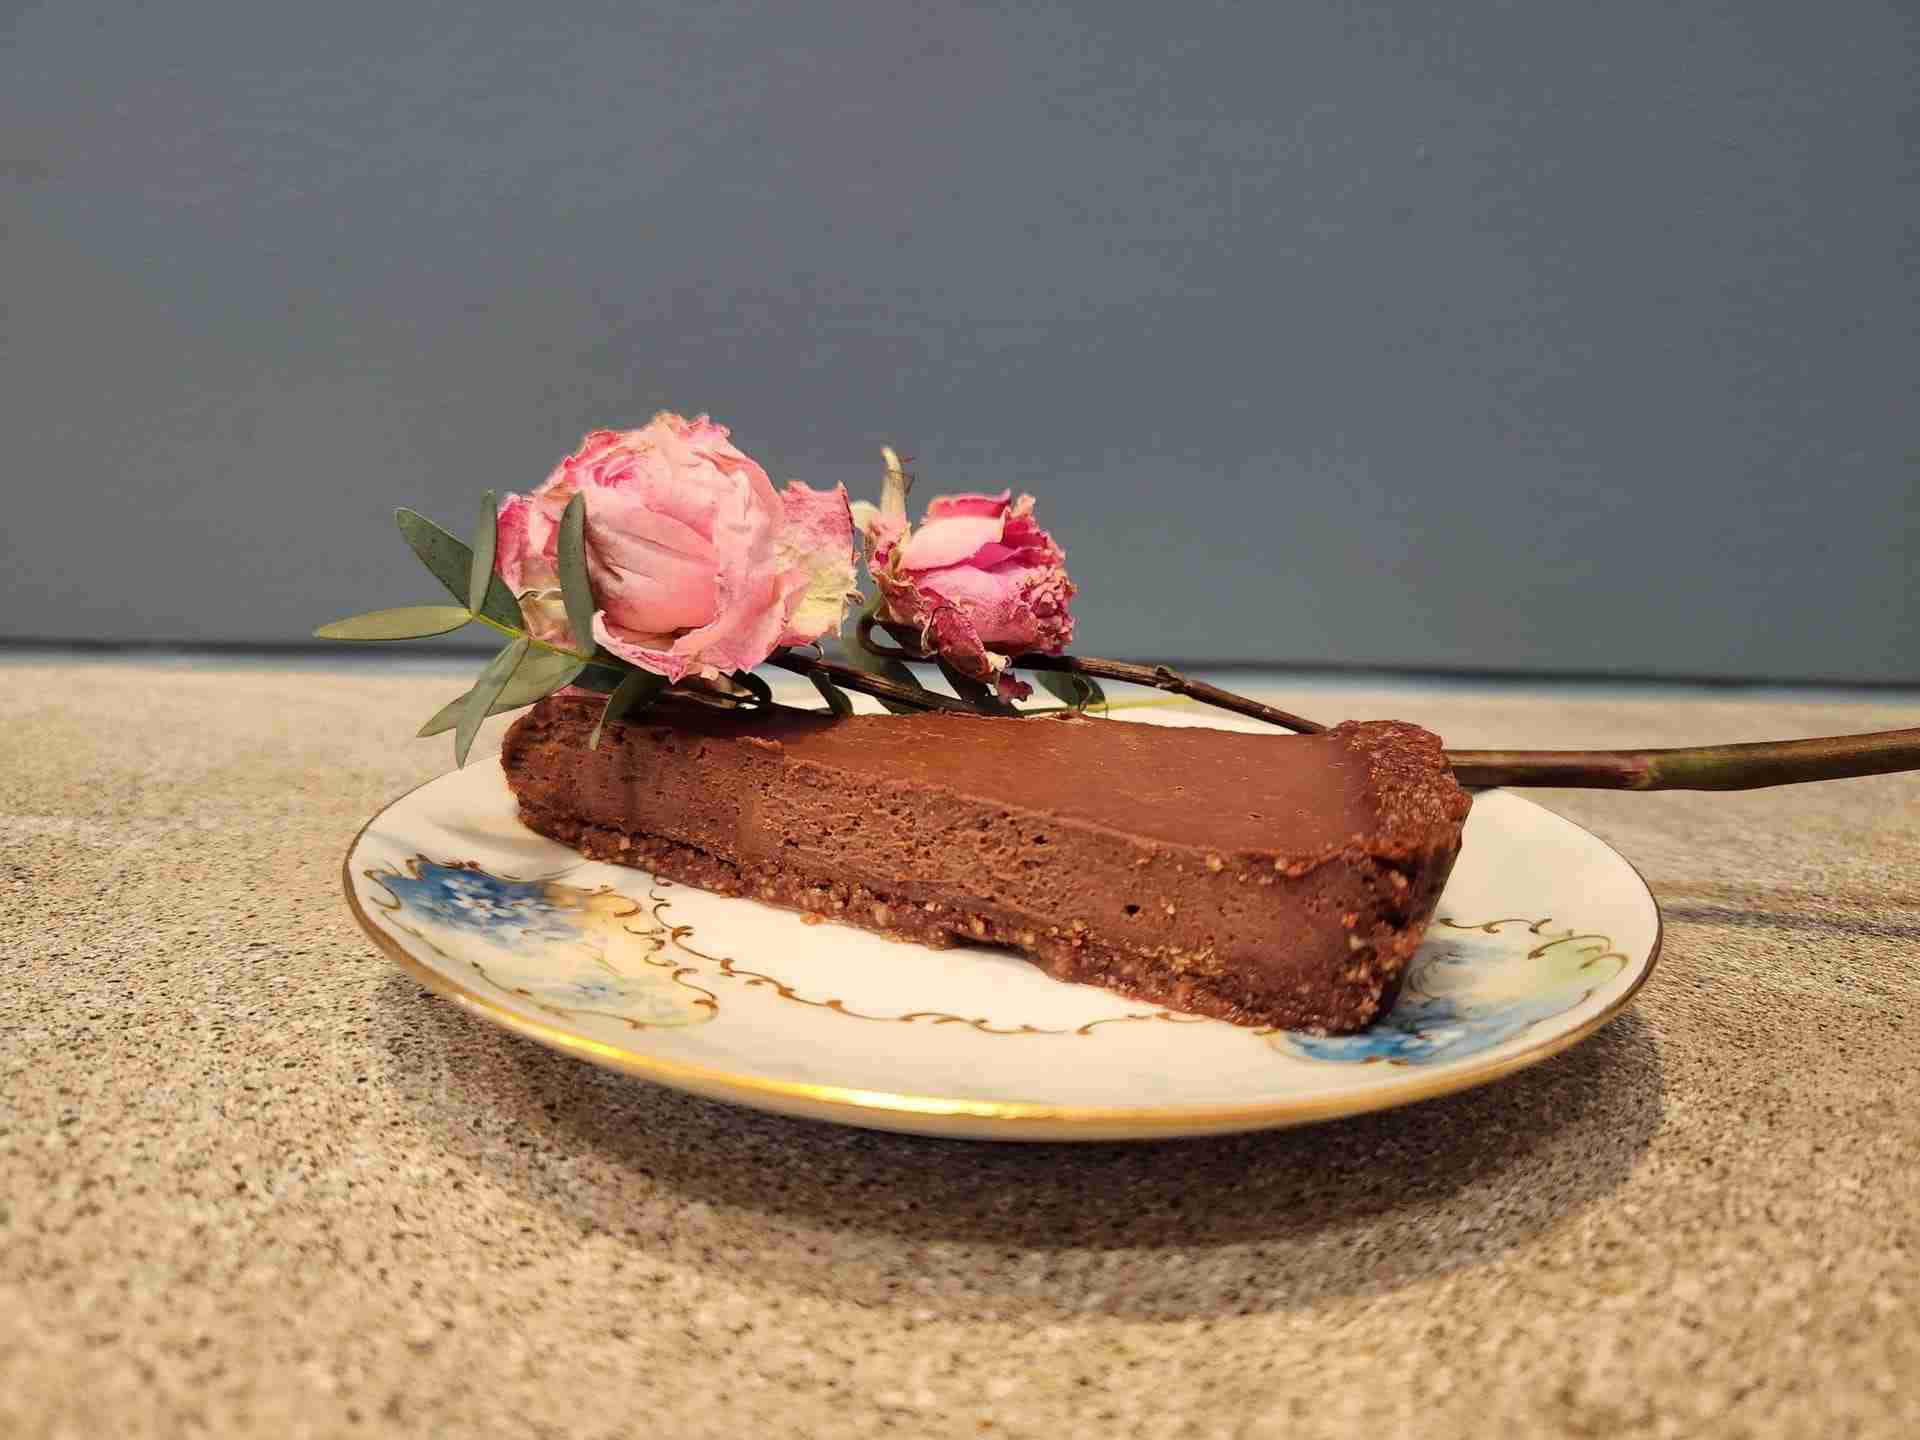
Now all that remains is to slice up and serve this delicious gluten free Almond Joy Tart! My family and friends enjoyed it on its own. However, it would also be delicious topped with coconut, raspberries, chopped almonds, chocolate, or another topping of your choice.

No-Bake Gluten-Free Almond Joy Tart
Author: Maya O'Dell
Prep time: 20 minutes
Refrigerate time: 4 hours
Yield: 12 servings
Ingredients:
Crust:
- 1 cup raw almonds
- 1 cup unsweetened, flaked coconut
- 2 Tbs coconut oil
- 1 Tbs maple syrup
- 1 tsp vanilla extract
- 3 Tbs cacao or cocoa powder
- 1/8 tsp salt
Filling:
- 1 3/4 cups coconut cream
- heaping 1/2 cup + several spoonfuls almond butter
- 1/2 cup coconut oil
- 1+ tsp vanilla extract (to taste)
- 4 scoops Clean Minerals with Collagen Peptides - Hot Cocoa
- 5 Tbs cacao or cocoa powder
- 1/8 tsp salt
Instructions:
For Crust:
- Pulse almonds in a food processor for 5 minutes or until the almond chunks are about the size of lentils or smaller. Add coconut flakes and pulse until well-incorporated, 2-3 minutes.
- Add remaining ingredients and blend until crust begins to stick together and form into large chunks.
- If using a tart pan that is not nonstick, use coconut oil sparingly to grease the pan. Spread crust evenly inside. Make sure to get crust all the way to the top of the edges - you want the filling completely contained.
- Leave in fridge for at least 30 minutes to let crust set completely.
For Filling:
- In a blender, combine coconut cream, coconut oil, 1/2 cup almond butter, vanilla extract, Clean Minerals with Collagen Peptides and cocoa powder. Blend until smooth.
- Remove crust from fridge.
- Optional: Spread thin layer of almond butter on bottom of crust.
- Pour filling into crust and put back in the fridge to set. Leave refrigerated for 2 hours up to overnight or until set.
- Enjoy!

Share:
Raspberry Chocolate Cashew Cream Tart
Mineral Boosted Fudgesicles