
We love to get feedback from our customers and lately I have heard from several people that they were excited to try some of our recipes. I had a couple of new recipes I wanted to create and not sure where to start, so we did an Instagram poll with 4 options, and Caramels won as the next recipe to post!
What is not to love about caramels? They are sweet, can be salty, rich, buttery, gooey, and all around DELICIOUS! Plus, they are perfect for the holiday season! You can make a batch and wrap them individually in wax paper and give them as gifts to neighbors or bring them to holiday parties for a sweet treat.
Caramels can also be versatile. I have seen chocolate caramels, lavender caramels, ginger caramels, caramels with cranberries and nuts in them, and my favorite caramel concept: espresso caramel! This recipe is great on its own, but you could easily add other flavors to it, mainly by steaming your flavoring in your goat cream (say lavender flowers, maybe 1/2 Tbsp or a bit of instant coffee) or mixing in some textured items (cranberries and nuts) right before you pour your hot caramel mix into your buttered, prepared pan.
I had never made caramels myself before, so I researched a variety of recipes to find out what sounded good and could work, and what could be improved on. Most caramel recipes call for corn syrup and sweetened condensed milk, yuck! Generally, these ingredients are not healthy for you and corn syrup can have all kinds of issues (gmos, for example). Corn syrup is used because it is supposed to be easier to have a caramel that sets up nice and smooth without sugar crystallization. I personally would opt for health over ease of use.
So, after some research, I settled on a concept and made these mouthwatering caramels with 6 simple, clean, and easier to digest, cow-free ingredients: sugar, water, goat cream, goat milk ghee, salt, and vanilla extract. While some recipes mix almost all the ingredients together in the beginning, I thought allowing the sugar to boil by itself would be the better, more true method to getting the caramels to set right.


Some quick things to note:
- As scary as it sounds to not stir the boiling liquid sugar in the first step, don’t stir it! This will cause sugar crystallization on your spoon and can cause more crystallization around your pan as the sugar bubbles, pops, and splashes up the sides.
- Secondly, make sure you have a big enough pot! I used a medium pot (I think 3 qt) for this recipe, but if I were to double it, I would use a large 6 qt pot. Any more than double would probably need a bigger pot so it doesn’t sputter over when you add the cream and ghee.
- While you don’t stir the boiling liquid sugar, you will want to constantly stir the mixture once you add in the cream and ghee.
- It is a bit nerve-wracking to decide when your bubbling sugar is amber enough. If you pull it too soon, you won’t get that deep, rich, caramelized flavor and your caramels won’t set up firm enough. If you pull it too late, it will burn and no longer be usable. In other words, don’t leave the stove while you make caramels! P.S. Boiling sugar is hot and can burn you, so don’t touch your skin to it!
Without further ado, the recipe is as follows:


Goat Milk Caramels
Ingredients:
- 1 cup sugar
- 1/4 cup filtered water
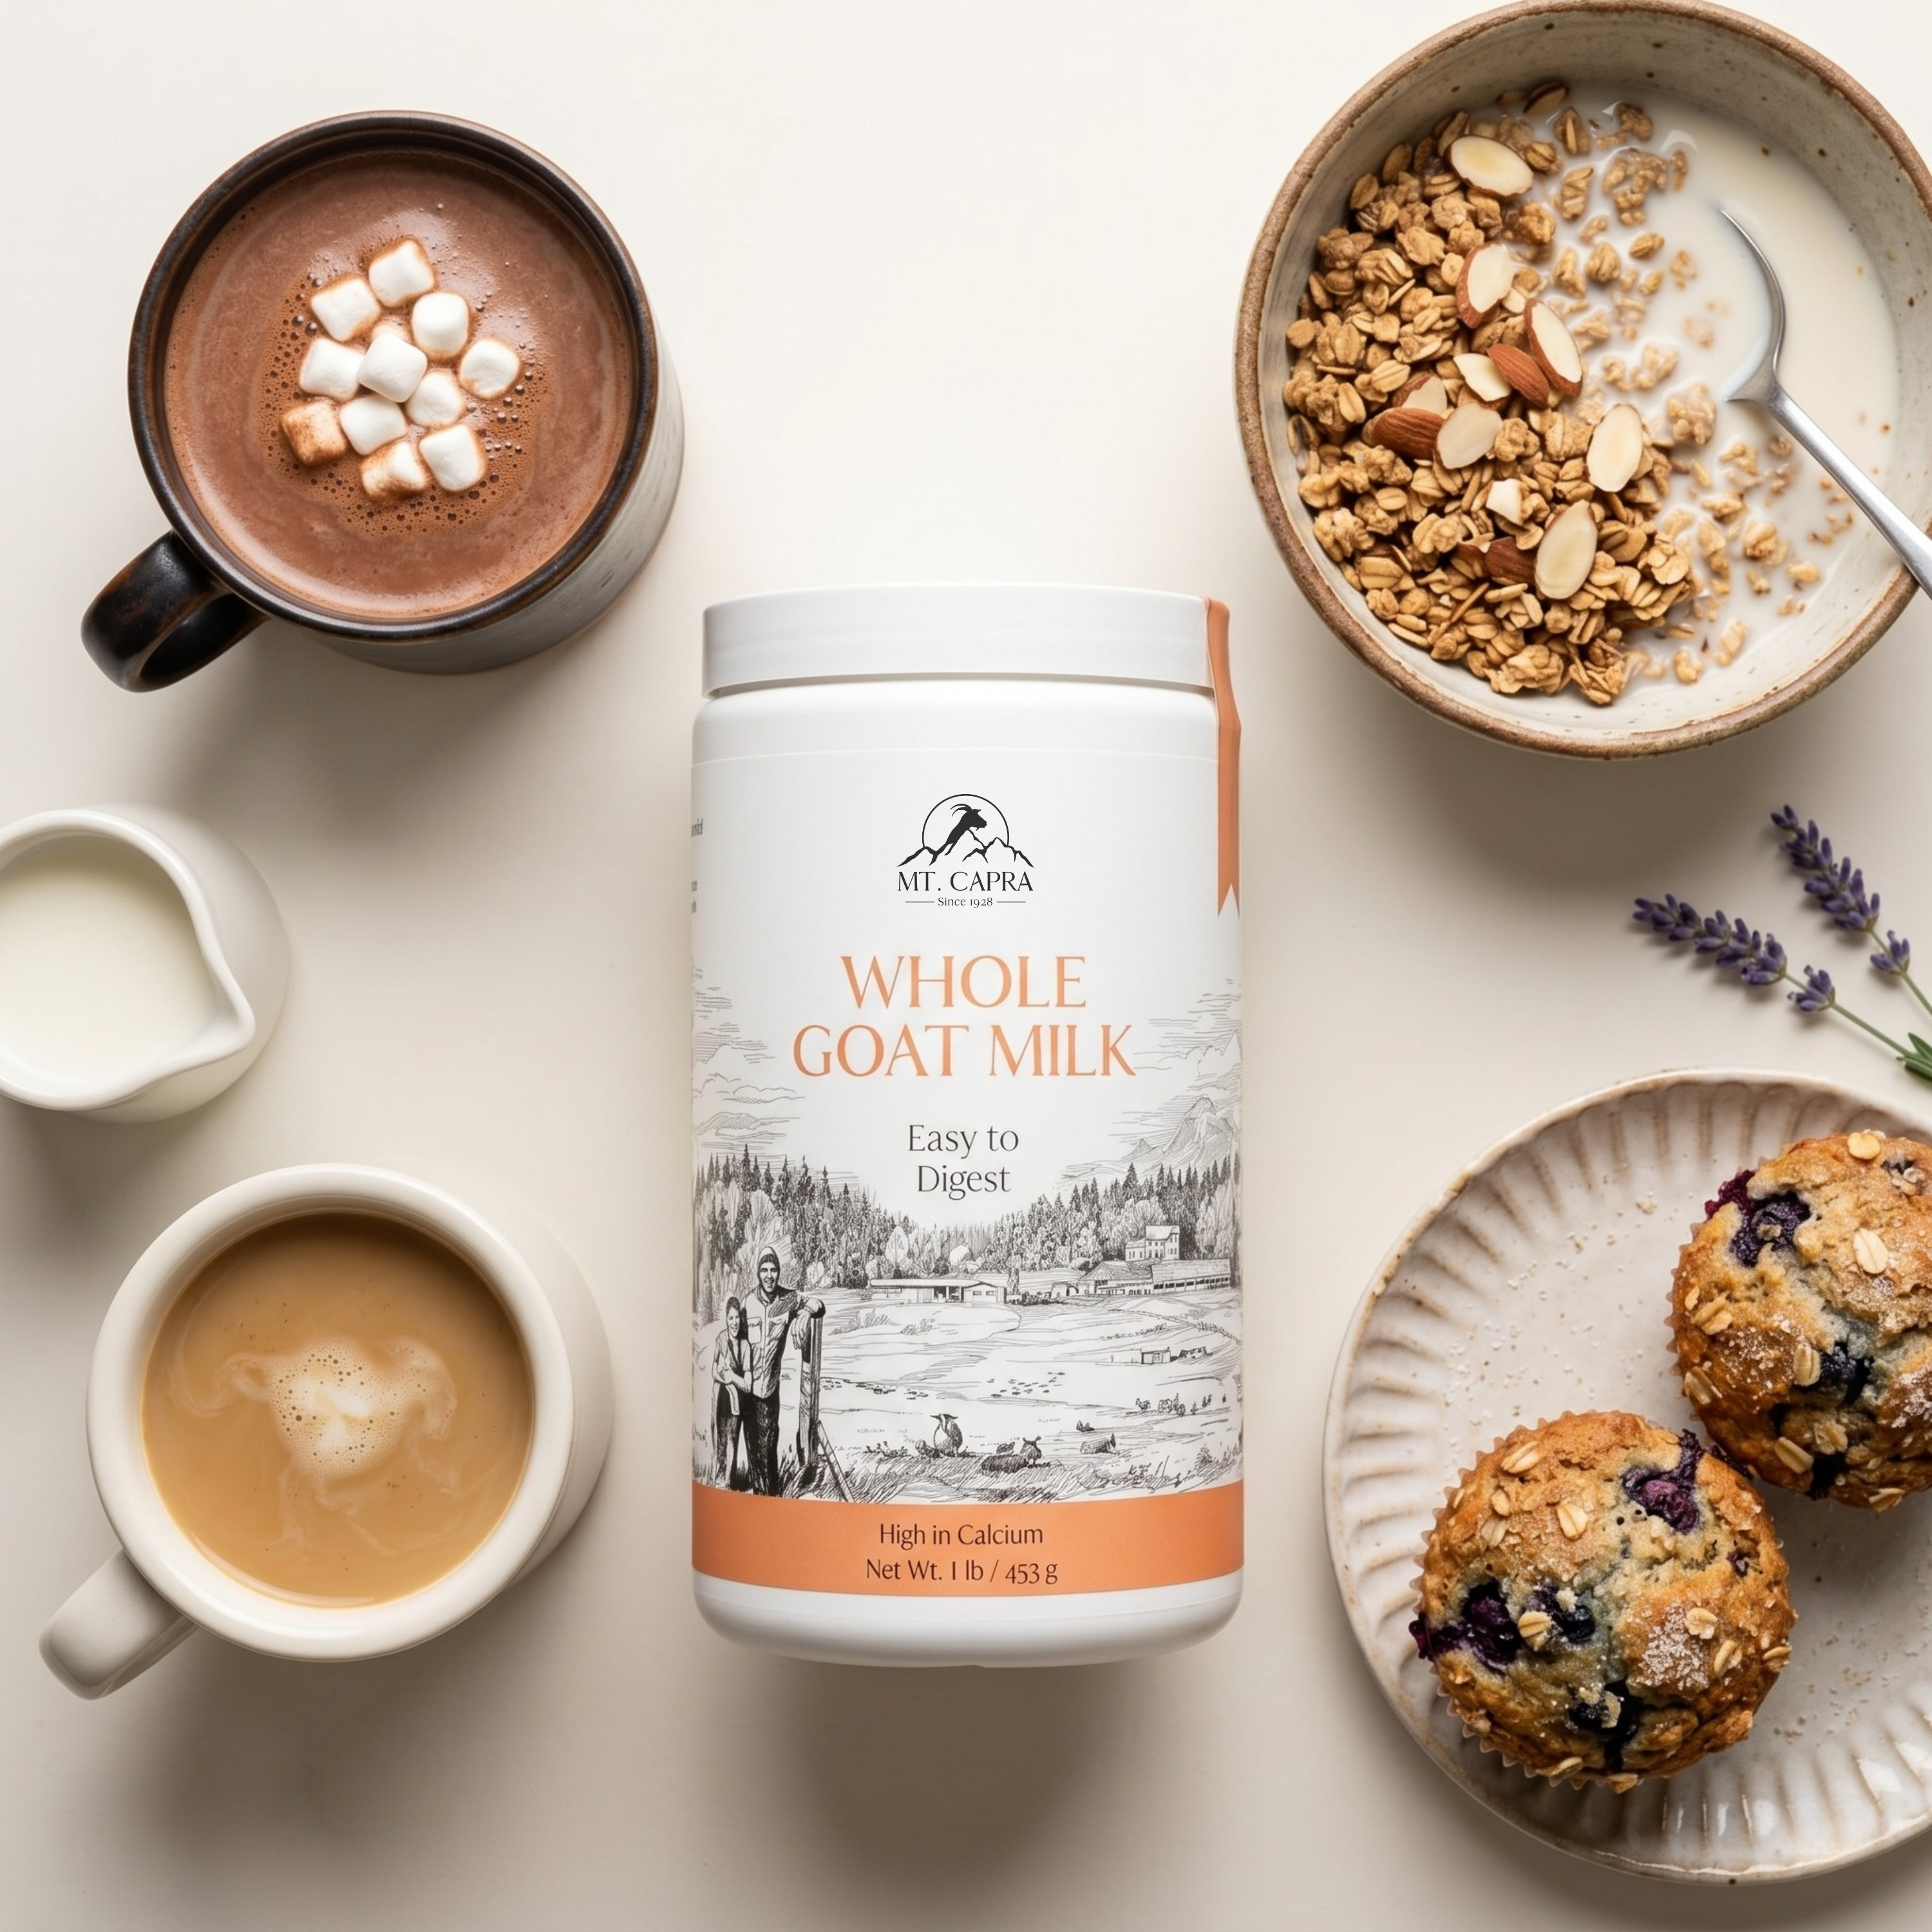
- 1/2 cup Goat Milk Cream (see hydration instructions below)
- 5 Tbs + 1 Tsp Goat Milk Ghee
- 1 tsp salt
- 1 1/2 tsp vanilla extract
Directions:
To make goat cream:
Blend 75 g (use a kitchen scale to weigh it out) of Goat Milk Cream flakes and combine in a blender with about 6.25 oz of water. Blend until smooth. Note: this will make just over a cup, so you won’t use the whole thing. Either use the rest in coffee or other recipes, or you can try cutting this recipe in half, but I don’t know if it will be enough for the blender to blend.
To make caramel:
- Melt out the goat ghee in a pan so it is ready to use later. Also have all of your other ingredients measured out and within easy reach, including your 1/2 cup goat cream.
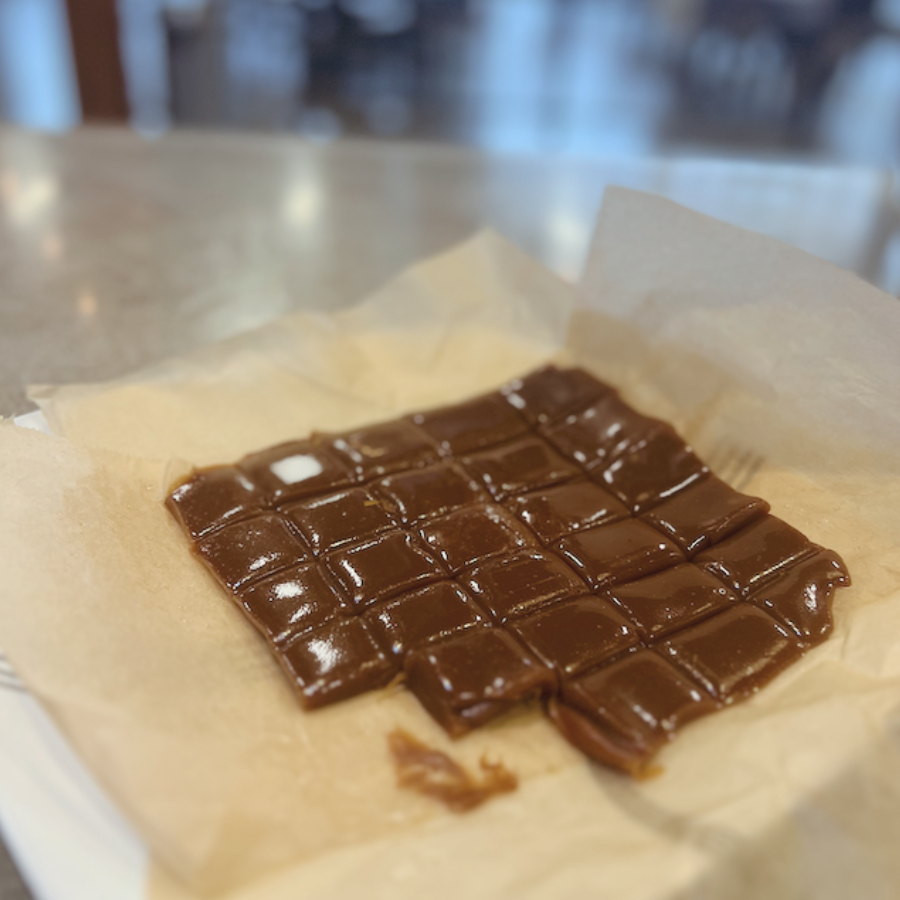
- Grease a metal bread loaf pan with some melted ghee. (You will notice in the pics I used an 8×8, but the caramels were too thin). Then cut two pieces of parchment paper to overlap and fit inside so that all sides of the pan are covered by parchment paper to the level where caramel will be filled. This will make it easy to pull out and remove later to cut the caramels. Grease the parchment paper itself with ghee, as caramels are very sticky and this will make it easier to cut later.
- Put a medium size pot on a low burner and mix and melt the sugar and water. Use a spoon to stir until the sugar is fully dissolved, which can take a few minutes. Once the sugar is dissolved and more liquid, you can turn up the heat a little to get the sugar to start to boil.
- Once the sugar boils, DON’T STIR IT! You can dip a pastry brush in some water and try to brush down any crystallized sugar on the sides. For me there was already some sugar on the sides that wouldn’t melt. Don’t dip the pastry brush in the sugar.
- Let the sugar water boil until it starts to turn a dark amber color, which will happen at 350 F if you would rather measure it with a thermometer. (Be aware that you will have thick sugar on your thermometer).
- Once it turns amber, turn off the heat and pour in your 1/2 cup goat cream and all of the ghee (5 Tbs + 1 tsp). It will rise up rapidly and be hot, so stir, stir, stir and make sure it doesn’t boil over. After a few stirs the mixture will slow down and you can put it back on the burner at about medium low to get it to boil again. Stir in the salt now.
- Let the mixture continue to boil while you constantly stir. Most recipes say the caramel will reach 250 F when done, but I found one that said their preferred temp was 238 F, which is about when I pulled mine. However, I did the ice water bath and recommend you do that as well. You have a bowl of water with ice in it off to the side of the oven. When you think you are close, drip some caramel into the ice bath and if it can be grabbed and molded with your fingers into a ball, it is done. If it can’t be formed into a shape and is still runny, it isn’t cooked enough.
- Pour into prepared pan and let sit and cool for around 3 hours. You don’t have to refrigerate, but I did after it cooled down a bit to help it set up.
- Once set cut into squares and enjoy! Note, the caramel will just stick back together if you leave it this way. You can instead wrap the squares with 4×4 wax paper for a nice presentation.
This recipe has been adapted from the recipe on the No Frills Kitchen website. Check out Maggie’s excellent video on YouTube to get a better feel for how to make caramel.

Share:
Pear Honey Goat Cheese Smoothie
Eggnog Crème Brûlée
1 comment
curious Why would you want to DESTROY the Quality of the GOAT product with SUGAR ?
have you thought of making GOAT BUTTER BITES just heating the Goat Butter till it gets dark from Lactose and pouring into silicon choc molds?
W